
You watch someone make a clean little clay charm or a pair of earrings in a short video and think, “I could do that.”
Then you walk into a boutique art store, pick up a couple of items, and suddenly the hobby feels expensive before you’ve even started.
Here’s the truth: you don’t need a studio setup to begin. You need a small starter kit you’ll actually use, and you need to practice without feeling guilty about every mistake.
If you’re looking for polymer clay in Coffs Harbour, this guide will walk you through what to buy first, what to skip, and how to start making things that look good without spending a fortune.

Why Polymer Clay Is a Great “First Medium”
Beginners usually quit for one of three reasons:
- The supplies feel too expensive.
- The first attempt looks terrible.
- They don’t know what to make, so the supplies sit there.
Polymer clay helps with all three.
It’s hands-on, it’s forgiving, and you can make small projects that feel “finished” quickly. You’re not staring at a blank canvas wondering where to begin. You’re shaping something real with your hands.
It also works well for:
- school projects
- rainy-day activities
- simple gifts
- party crafts (place cards, cake toppers, little charms)
And the best part is you don’t need to buy everything at once. You can start small, learn the basics, and add extras only when you’ve earned them.
The $50 Rule: Start Cheap So You Can Make More
If you’re starting any creative hobby, there’s one rule that keeps it alive:
Spend less at the start so you can create more.
Beginners don’t need “perfect” supplies. They need time with the materials.
When you buy one expensive item, you become scared to use it. You “save it” for later. Later never comes.
A cheaper starter kit gives you freedom:
- You can experiment without pressure
- You can mess up and try again
- You can learn what you actually enjoy
A simple “starter budget split” (example)
This isn’t a strict shopping list, it’s a way to think:
- A few blocks of polymer clay (2–4 colours)
- A basic cutting tool (or craft blade)
- Something to roll with (a small roller or smooth jar)
- Baking paper
- A basic sketchbook + pencil (optional but useful)
- One cheap brush (optional for dusting/finishing)
You don’t need to buy a full tool set. You don’t need 30 colours. Start with the basics, then build from there.
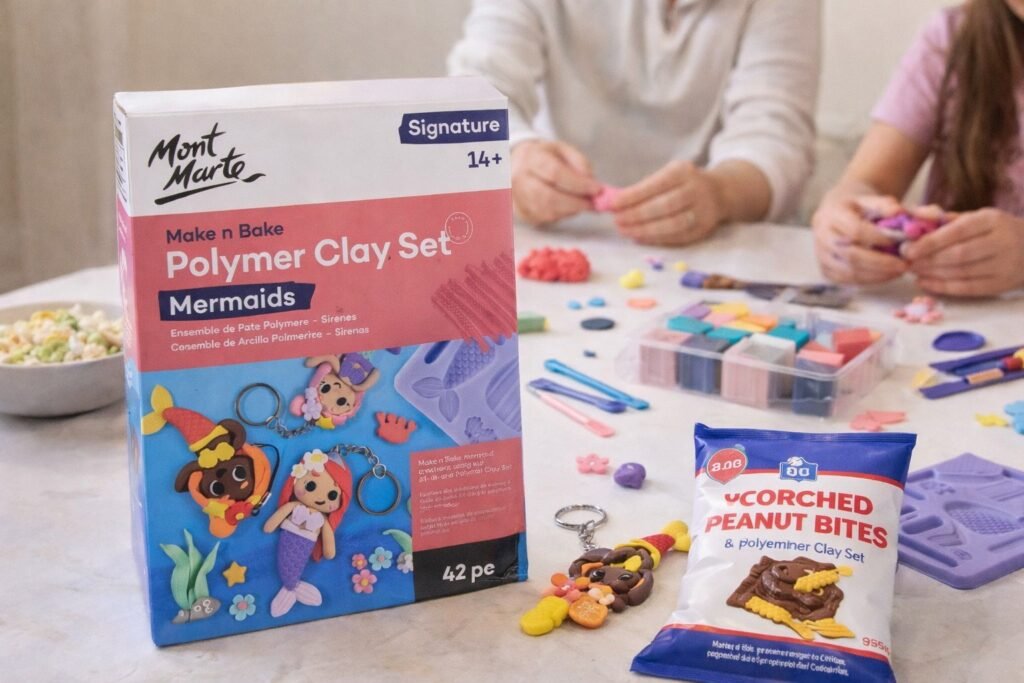
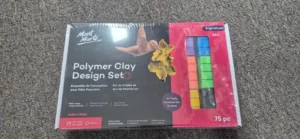
What to Buy First: Polymer Clay Basics (Beginner Setup)
1) Polymer Clay (Colours That Make Sense)
Start with a small set of colours you’ll actually use.
Good beginner picks:
- White
- Black
- One bright colour (blue/red/pink)
- One neutral (tan/grey)
Why? Because you can mix colours and still make clean designs. White and black help you lighten/darken without buying every shade.
Tip: don’t buy every colour up front. It’s tempting, but most beginners use the same few colours over and over.
2) A Roller (Or a Smooth Jar)
You need something to flatten the clay evenly.
A small roller is great, but a smooth jar works too. The goal is simple: even thickness, so pieces bake consistently.
3) A Blade or Craft Knife
You don’t need fancy cutters for your first projects. A basic blade helps you:
- cut clean edges
- trim shapes
- slice evenly
Just be careful. Sharp is good, but sharp means you slow down and pay attention.
4) Baking Paper (Non-Negotiable)
Baking paper saves you headaches. It stops clay sticking and makes cleanup easier.
It also helps you lift pieces without bending them out of shape.
5) Toothpicks + Basic Household Tools
Toothpicks are underrated. They help with:
- small holes
- texture
- tiny details
- lifting pieces cleanly
Other basics you’ll use:
- a ruler (for straight cuts)
- a straw (for making holes in charms)
- sandpaper (for smoothing edges after baking)
None of this is fancy. It’s just practical.

Easy First Projects (So You Don’t Quit)
The fastest way to stick with clay is to make something finishable in one session.
Here are beginner-friendly projects that don’t require perfection:
Simple charms
- circles, hearts, stars
- press a texture lightly (toothpick or patterned fabric)
- add a hole for a keyring
Basic earrings (small shapes)
- keep them small and light
- make two at the same time (so they match)
- don’t try complicated designs on day one
Cake toppers (simple shapes)
You don’t need a sculpted masterpiece. A clean name topper or small themed shape is enough to look great on a cake photo.
Party place tags
Roll thin clay, cut simple shapes, stamp names lightly (or write carefully). They look impressive and they’re simple.
Beginner Mistakes (And How to Avoid Them)
Mistake 1: Not conditioning the clay
If clay is stiff, it cracks and crumbles. Warm it in your hands and knead it until it’s workable. This alone improves results.
Mistake 2: Making pieces too thick
Thick pieces take longer to bake and can crack if done poorly. Keep it even and sensible. Consistency matters more than thickness.
Mistake 3: Dirty clay (dust, hair, lint)
Clay picks up everything.
Quick fix:
- wipe your workspace first
- wash hands
- keep a wet wipe nearby
- use a soft brush to dust pieces before baking
Mistake 4: Rushing the bake
Don’t guess. Follow the instructions on the clay packaging. Temperature and time matter. Too hot and it burns. Too short and it stays weak.
Safe beginner rule: follow the packet. Don’t freestyle.
Mistake 5: Trying to make a “perfect” sculpture first
Beginners don’t need a complicated figurine. Start with shapes. Learn clean edges. Learn baking. Then level up.
A Beginner Art Kit That Works With Clay (Optional, But Worth It)
Polymer clay is hands-on, but a few art basics make it easier to plan and finish projects.
Sketchbook + pencil
Sketching helps you plan shapes and sizes before you cut clay. It saves material and reduces mistakes.
Acrylic paint (for small details)
Once pieces are baked, you can add tiny painted details if you want—eyes, patterns, small highlights. Keep it minimal. You’re not painting a mural.
One small brush
Useful for dusting and tiny paint details. You don’t need a full brush roll to start.
If you want a quick overview of what we stock across departments, see our in-store departments before you visit.
Why In‑Store Helps When You’re Starting
Beginners waste money when they buy the wrong thing.
In-store, you can:
- check sizes and colours properly
- see what tools are actually useful
- grab what you need today and start tonight
And if you’re starting polymer clay, that “start tonight” part matters. Momentum is everything.
Quick FAQ: Polymer Clay for Beginners (Coffs Harbour)
Where can I get polymer clay in Coffs Harbour today?
If you need polymer clay in Coffs Harbour and you want to start a project today, the easiest move is to shop in-store so you can grab the right colours and a couple of basic tools in one go. You don’t need a full kit—just enough to make your first few pieces and learn what you actually like making.
What’s the first thing I should make with polymer clay?
Make something small and finishable. A simple charm, a flat keyring shape, or a pair of basic studs is perfect. It teaches you the real beginner skills—conditioning, rolling evenly, cutting clean edges, and baking properly—without turning into a three-day project that never gets done.
Do I need a heap of tools to start?
No. Most beginners overbuy tools and underbuy practice time. You can start with a few clay colours, baking paper, and one cutting tool. A smooth jar works as a roller. Toothpicks do detail work. Add cutters and extras later, once you’ve made a few things and know what actually helps.
Why is my clay cracking or crumbling before I even bake it?
Usually it’s not “bad clay.” It’s stiff clay that hasn’t been worked enough. Condition it longer—knead it until it’s pliable and smooth. If it’s cold, warm it in your hands first. Beginners rush this step and then wonder why pieces fall apart.
How do I stop fingerprints showing up everywhere?
Fingerprints happen because polymer clay is soft and you’re handling it a lot. Keep your hands clean, work on a smooth surface, and try not to “fix” the piece twenty times. Once the shape is right, smooth it lightly and leave it alone. The less you poke it, the cleaner it looks.
What temperature do I bake polymer clay at?
Don’t guess. Follow the instructions on the packet for temperature and time. Different clays vary. The safest beginner move is: baking paper on a tray, even thickness, and the correct temperature. If you bake too hot, it scorches. Too short, it stays weak.
My clay feels sticky or it’s picking up lint—what do I do?
Clay picks up dust like a magnet. Wipe the bench before you start, wash your hands, and keep a wipe or cloth nearby. If lint gets in, you can often lift it out with a toothpick. A soft brush can help remove dust before baking. It’s annoying, but it’s normal.
Can I use polymer clay for school projects?
Yes—especially for simple models, shapes, and creative builds. Keep the design straightforward so it survives handling. Flat shapes and small parts are easier than detailed figurines. If it’s for school, aim for “clean and clear” rather than “complicated.”
If I’m a complete beginner, what colours should I buy first?
Go basic. White and black are useful for mixing. Then pick one accent colour you actually like using. Starting with a small colour range forces you to learn mixing and stops you wasting money on 20 colours you won’t touch.
Do you stock other beginner art supplies as well?
Yes—basic art supplies and craft essentials are part of what we carry in-store. If you’re building a starter setup, a sketchbook and pencil are still the cheapest way to improve fast. Paint and brushes are worth adding once you know you’ll stick with it.
Wrap-Up: Start Small, Make Stuff, Keep Going
You don’t need a perfect setup to start making things. You need a starter kit you’ll actually use.
A few blocks of clay, a basic blade, something to roll with, baking paper, and a simple project you can finish today—that’s enough to begin.
If you’re ready to get started and you’re looking for polymer clay in Coffs Harbour, visit Choice Discounts Coffs Harbour in-store:
https://choicediscounts.com.au/choice-discounts-coffs-harbour/
Optional: for general enquiries and store details:
https://choicediscounts.com.au/contact/